
Keeping Your Brampton Dog’s Ears Healthy
As a dog owner in Brampton, ensuring your furry friend stays healthy is top priority. While many focus on diet and exercise, ear care often gets overlooked. Regular cleaning isn’t just about keeping ears tidy; it’s crucial for preventing infections and discomfort. This guide will walk you through understanding canine ear anatomy, recognizing when cleaning is needed, gathering the right supplies, and performing the cleaning process safely.
Understanding Dog Ear Anatomy
Before diving into cleaning, it’s helpful to understand the basics of dog ear structure.
- The Ear Canal: Dogs have a unique ear canal shaped like a spiral, which is different from humans. This shape helps drain naturally but can sometimes trap wax and moisture.
- Cerumen (Earwax): This is not dirty wax to be removed; it’s a natural, protective secretion produced by glands in the ear canal. It helps trap dirt and debris and has antimicrobial properties. The color and smell of earwax can vary depending on your dog’s breed and ear type.
- Signs of Different Ear Types: Some dogs have ‘clean ears’ with little visible wax, while others naturally produce more. Knowing your dog’s typical ear state helps determine if cleaning is necessary.
When to Clean Your Dog’s Ears
Not every ear inspection requires cleaning. Knowing the signs that indicate cleaning is needed prevents unnecessary intervention and potential damage.
- Visible Discharge: Cloudy, yellowish, or brownish discharge can indicate wax buildup, mild irritation, or infection.
- Unpleasant Odour: A foul smell from the ears is a common sign of infection or excessive bacterial/grease growth.
- Redness and Inflammation: Noticeable redness, swelling, or warmth in the ear canal suggests irritation or infection.
- Pain and Discomfort: If your dog shakes their head excessively, scratches at their ears, whines when touched, or tilts their head, they’re likely uncomfortable.
- Head Shaking or Tilting: These are classic signs of ear problems, often linked to inner ear issues or infections.
- Dark, Crumbly Discharge (Blackheads): This is a specific sign of a yeast infection, often seen in breeds like Cocker Spaniels or Retrievers.
Gathering Your Cleaning Supplies
Prepare the right tools before you start. Using inappropriate products can burn your dog’s sensitive ears or worsen infections.
- Ear Cleaner: Choose a dog-specific ear cleaning solution. These are pH balanced and formulated to dissolve earwax safely. Avoid using human ear drops, hair shampoo, or household cleaners.
- Tip: Look for solutions without harsh alcohol or propylene glycol, especially if your dog has sensitive skin.
- Cotton Balls or Wipes: Use plain, white cotton balls or pet-safe wipes. You’ll likely need multiple for one cleaning session.
- Treats: Keep some handy to reward your calm, cooperative dog!
- Pet-Friendly Towels: Have a towel ready in case your dog gets a bit muddy (if cleaning outdoors).
The Cleaning Process: Step-by-Step
Always prioritize your dog’s comfort. Make this a positive experience.
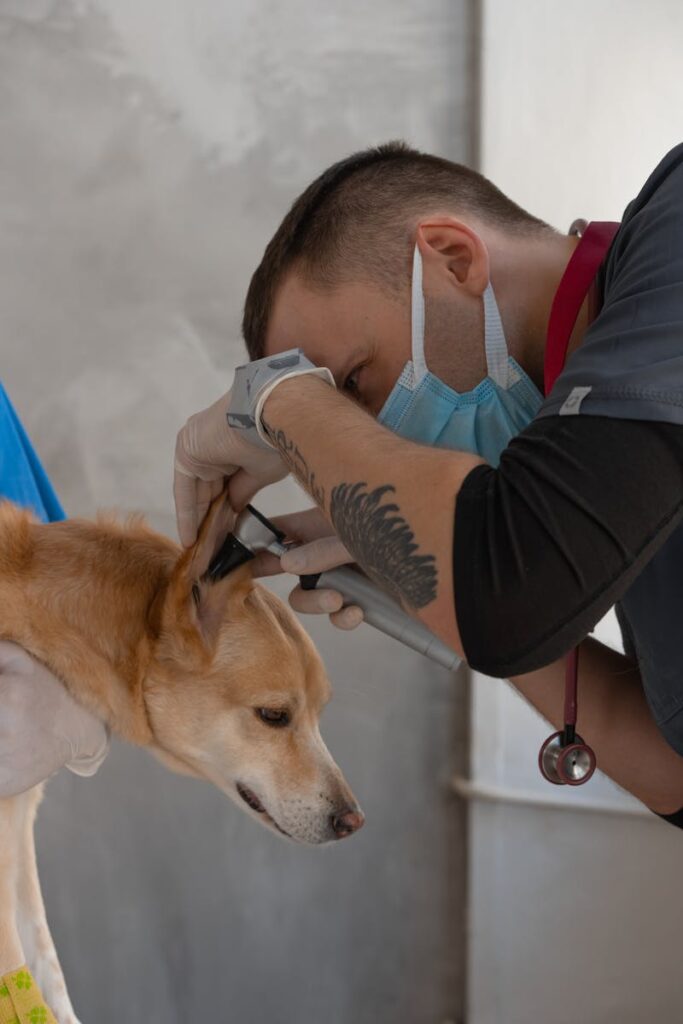
- Check for Infection Signs: Before cleaning, look for redness, pain, excessive dark discharge, or head tilt. If you see these, consult your local Brampton veterinarian instead of cleaning at home.
- Secure Your Dog: Find a quiet, well-lit area at home or use your yard (on grass or a towel). Keep your dog calm and gently restrain them if needed.
- Cleanse the Ears:
- Squeeze a small amount (about the size of a pea) of ear cleaner into one ear. Use your finger or a cotton swab dipped in the solution to gently massage the base of the ear flap (pinna) for 10-15 seconds. This helps loosen debris and stimulates blood flow.
- Allow the solution to sit for 1-2 minutes to break down excess wax.
- Use a fresh cotton ball or pet wipe to gently wipe away the loosened debris and solution from the outer ear canal and around the ear base. Crucially, do not insert cotton swabs or cleaning solutions deep into the ear canal. This can push debris further in and damage the eardrum.
- Repeat the process for the other ear if needed.
- Rinse (Optional): For dogs with sensitive ears or if debris isn’t easily removed, you can flush the ear. Tilt your dog’s head back slightly. Use a small amount of sterile saline solution (available at most pharmacies) or warm water (body temperature) in a pet eye dropper or syringe (without a needle) to gently flush the outer ear canal. Wipe away any residual moisture.
- Dry (Optional): Some ear cleaners are designed to air-dry. If your dog’s ears tend to get wet easily, you can gently pat the outer part with a dry cotton ball or towel. Avoid using hairdryers.
Making Cleaning a Habit
Consistency is key to preventing issues.
- Frequency: How often you need to clean depends on your dog’s breed, activity level, and ear type.
- Breeds prone to allergies or infections (e.g., Cocker Spaniels, Poodles, Retrievers) may need occasional cleaning (every few weeks).
- Most healthy dogs with clean ears only need cleaning when signs appear (perhaps every few months).
- Consult your Brampton vet for personalized advice during your annual check-up.
- Patience and Positives: Keep sessions short and positive. Reward calm behaviour generously. Never force your dog.
- Observation is Key: Regularly check your dog’s ears between cleanings to catch any changes early.
When to Call the Brampton Vet
While home cleaning is often sufficient, don’t hesitate to seek professional help if:
- You notice signs of infection (redness, swelling, pain, discharge, odour, head tilt) despite regular cleaning or preventative care.
- Your dog shows persistent signs of ear discomfort (head shaking, scratching).
- You suspect an injury.
- You’re unsure if cleaning is necessary or how to proceed safely.
Your local Bram’ton veterinarian is the best resource for diagnosing ear issues and recommending appropriate treatment, which may include medicated shampoos, ear drops, or oral medication.
Final Thoughts on Brampton Dog Ear Care
Proper ear care is a fundamental part of responsible dog ownership in Brampton. By understanding your dog’s anatomy, recognizing the signs of healthy and unhealthy ears, gathering the right supplies, and performing gentle, careful cleaning, you can play a significant role in preventing discomfort and infections. Remember to always prioritize your dog’s comfort and safety, and don’t hesitate to consult your local vet if you have any concerns about your dog’s ear health. A little attention goes a long way in keeping your Brampton companion happy and healthy for years to come.